TortoiseGit 설치하기
이전 포스팅에서 윈도우즈에서 Git 을 설치하는 방법에 대해 알아봤다.
이번 포스팅에서는 윈도우즈에서 Git 사용 시 편리한 GUI 를 제공하는 TortoiseGit 을 설치하는 방법에 대해 알아보려 한다.
참고로, Tortoise Git 은 Git 자체가 아니라 보조 툴이여서 사용하기 위해서는 윈도우즈에 Git 이 설치되어 있어야 한다.
(Git 설치가 안 되어 있다면 이전 포스팅을 참조하자.)
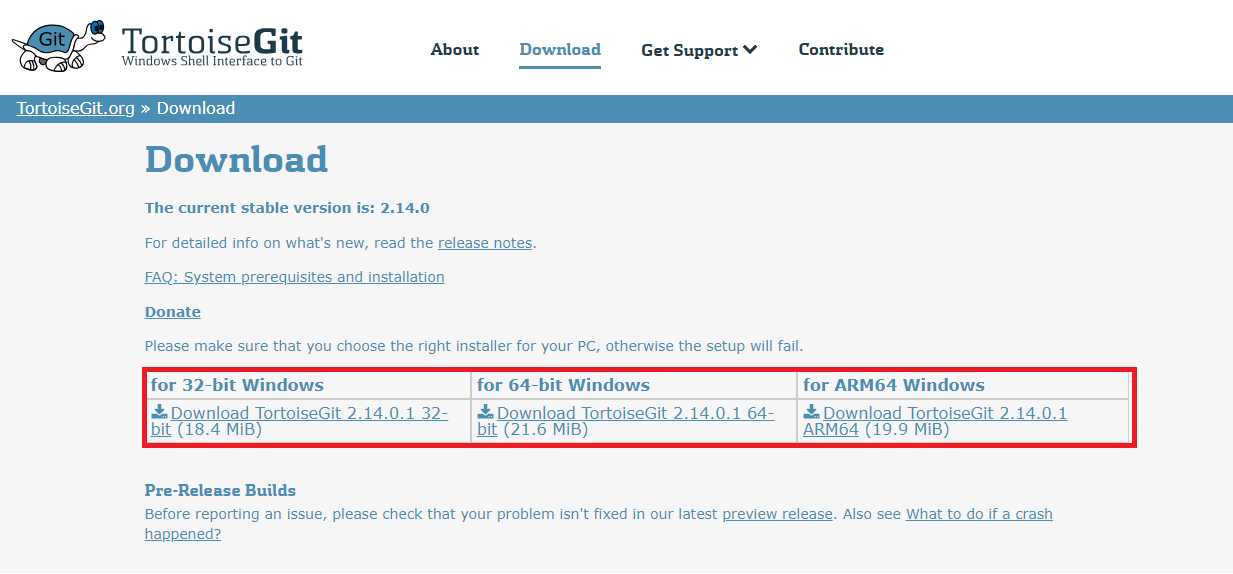
Tortoise Git 설치 파일 다운로드
하단 링크를 통해 Tortoise Git 을 다운로드할 수 있다.
본인의 운영체제에 맞게(32bit or 64bit) 다운로드하자.
(https://tortoisegit.org/download/)
Git 설치
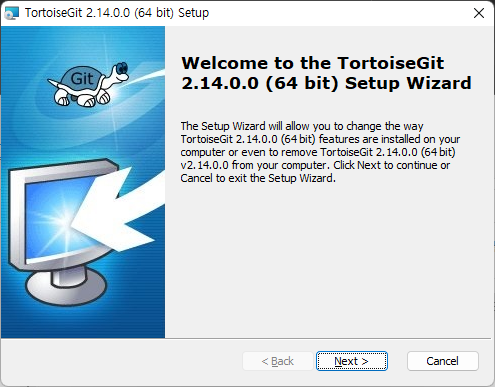
하단과 같이 설치를 진행하자.
특별하게 설정할 부분이 없다면 계속 'Next' 만 클릭해도 된다.
◼ Setup wizard
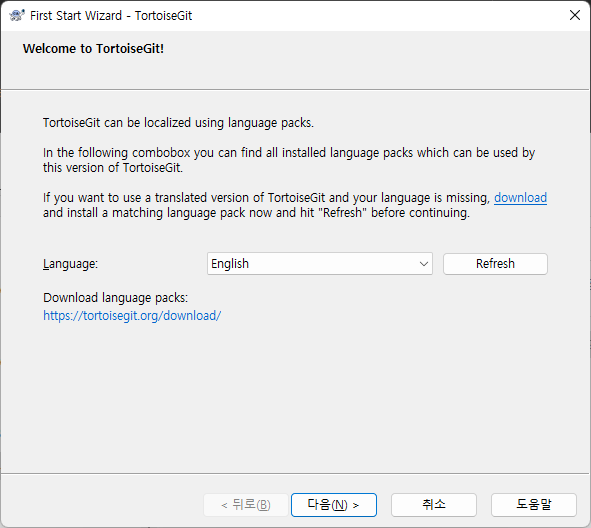
◼ 언어 설정
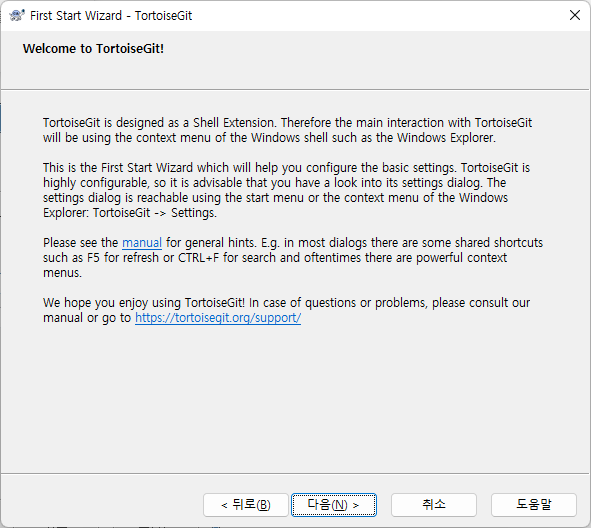
◼ 인삿말
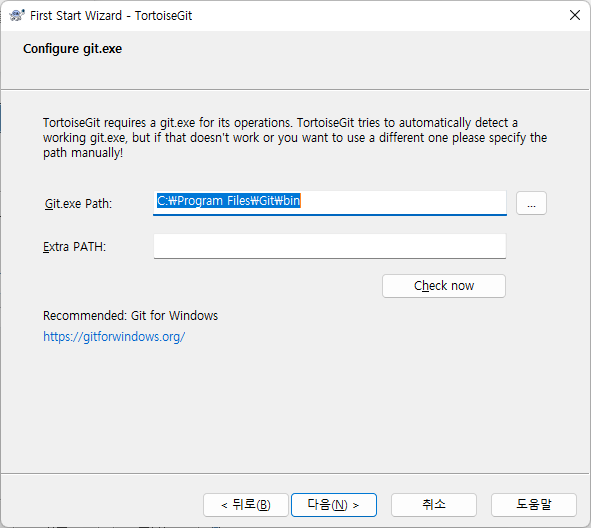
◼ Git 경로 설정
TortoiseGit 은 Git 자체가 아니라 보조 툴이어서 TortoiseGit 을 사용하기 위해서는 Git 이 설치되어 있어야 한다.
Git 이 설치되어 있지 않다면 하단을 참조하여 설치하자.
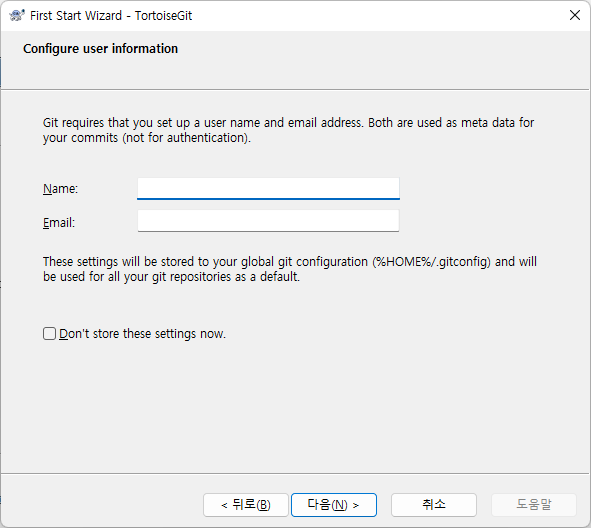
◼ User name, Email 설정
자신이 사용할 Git 플랫폼(GitHub, GitLab) 계정 정보를 넣어준다.
해당 정보를 commit or push 시 meta data 로 활용된다.
나중에 설정할 수 있으니 그냥 넘어가도 된다.
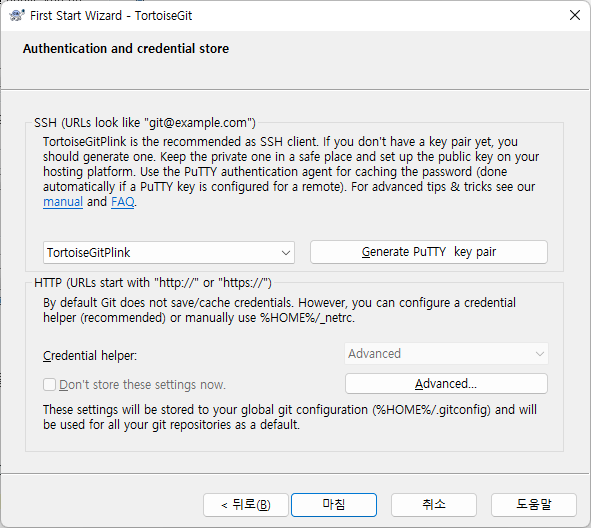
◼ Authentication 설정
인증에 대한 설정으로 특별히 설정할 내용 없다면 마침을 클릭하자.
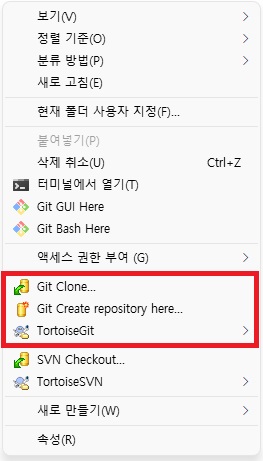
설치 확인
정상적으로 설치가 되었다면 하단과 같이 탐색기의 context menu 에서 확인할 수 있다.
◼ 탐색기 -> 특정 폴더에서 우클릭